

Living with a Python, inside a Virtual Environment 🐍


What is the matter?
If you look through the sites-package/ directory in your Python installation folder and find a ton of sub-folders like this... 👇
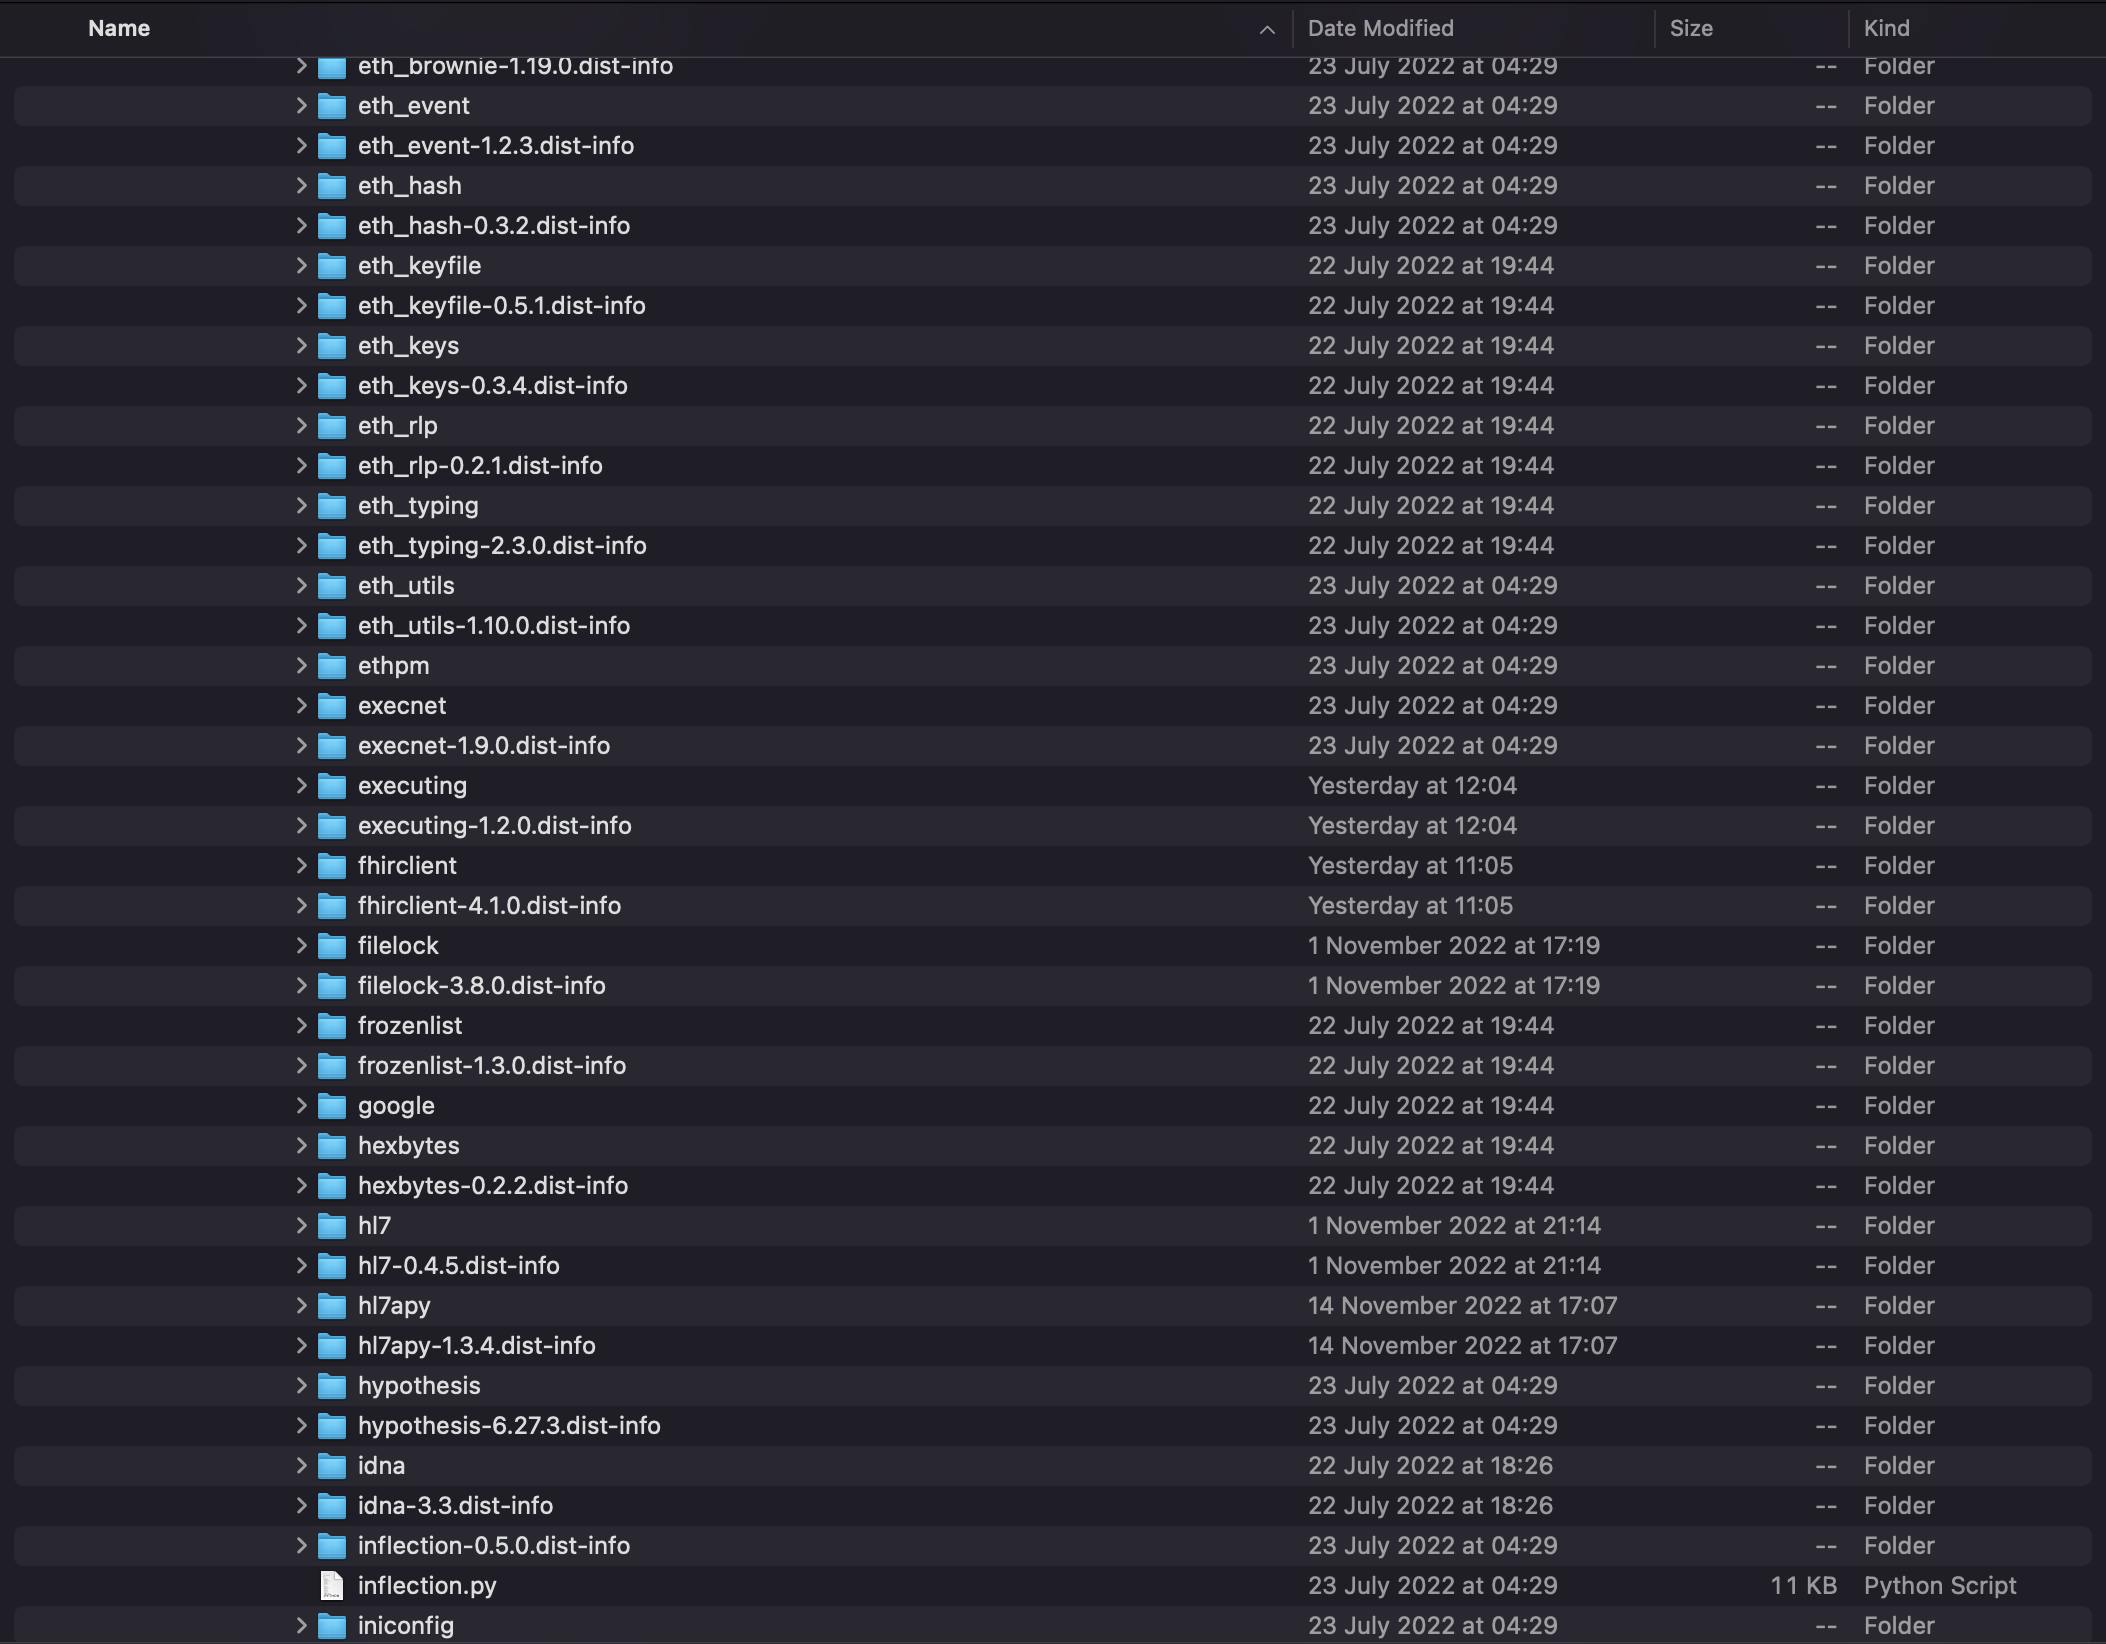 ...then you like me at some point, have been working on your Python projects outside of a virtual environment, consequently installing all your many dependencies globally.
💡 - If you are struggling to find your Python installation folder, then run this code on your terminal:
$ which python3
The output should be “/usr/local/bin/python3”
Copy this and run:
$ ls -al /usr/local/bin/python3
The part of the output after the arrow (->) is the path to your Python installation folder.
Although this won’t stop your code from running normally (in the short-term), here’s a couple important reasons why you should adopt a better work flow:
- Let’s say you build a Flask web application and you want to export a "requirements.txt" file, before you push to git. If you run:
$ pip freeze > requirements.txt
you will be freezing a ton of additional dependencies that have nothing to do with your project. This can be confusing if say you were working in an organisation and had to share your code with other developers.
- It will be difficult to manage different projects that require different versions of the same dependency to run properly. For instance, in the past, you built a web app that used an earlier version of Flask, “flask==0.1”. Today you decide to create a different web app with an updated version of Flask “flask==1.1”. If you were working on these projects without a virtual environment, when you install the latest version of Flask, it will overwrite the older version in the sites-package/ directory of your Python installation folder and then when you try to run your older app, it won’t work—so much stress.
- Finally, most Linux and macOS systems come preinstalled with a version of Python that the operating system uses for internal tasks. If you keep installing dependencies globally, they can intermix with these relevant system packages and create unintended effects for your operating system. This by far is the most worrisome long-term issue.
So what is a better workflow? The answer is to create virtual environments for all your projects. If you use PyCharm, then you notice it does this for you automatically whenever you launch a new project. But if you use VSCode or other IDEs, then you will have to manually create these virtual environments (or "venv" for short) in order to adopt a neater workflow.
But before we go into how to create them, let’s briefly talk about what they are as simple as possible.
What are these virtual environments?
Creating a virtual environment is basically adopting an isolated python workspace for a particular project such that this workspace/environment does not interfere with the workspace/environment of another project or especially, the global Python workspace/environment of your operating system.
When you install Python on your computer, it creates these heavyweight folder structures that manage the functioning of Python in your OS. It’s inside one of these folders that you find the sites-package/ directory that will contain the packages you install globally. What creating a virtual environment does for you is that a lightweight version of these Python installation folders is added to your project folder to enable you to handle all the specific dependencies and runnings as if you installed Python in that project folder, for that project only. It’s referred to as lightweight because you can spin it up pretty fast and discard it quickly as well.
If you want to dig deeper and learn about these folders, the files they contain and the roles they play, then you can check out this link:
realpython.com/python-virtual-environments-..
How can I set up a virtual environment for my workspace?
Now let’s see how you can quickly set up a virtual environment for your projects in Python:
Open your project folder and run this command in the terminal to create a virtual environment named “venv”. Note that you can name it anything you like, "venv" is just a convention:
$ python3 -m venv venv
Now run this command to activate it:
$ source venv/bin/activate
You will know that your venv has been activated because your terminal will now start with venv in parenthesis like this (venv).
It’s now safe to start installing your dependencies without worrying about them affecting your global environment.
If you want to deactivate the virtual environment, simply run:
$ deactivate
Pretty easy to set up right? But just like everything else, understanding the why takes you a little deeper and pushes you forward towards mastery.
By the way, ignore that title, it's for shock value only.
Happy coding!